|
Moldings / Selfedge

HOW TO APPLY MOLDINGS AND "SELFEDGING"
MOLDINGS
-
Apply glue to molding.
-
Place
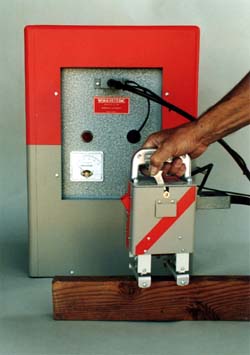
molding on edge to be glued and place electrode feet across the molding.
-
Apply
ample pressure with hand unit.
-
Pull
trigger switch and tune lever. Hold
pressure until glue stops boiling.
-
Sand
and finish.
NOTE: The
electrode feet are usually in the small gap position when doing narrow moldings.
SELF-EDGING (Plastic and Wood)
-
Apply
glue evenly to both surfaces.
-
In
most cases, the glue application should be a little heavier as it soaks into the
end grain.
-
Press
the electrode feet, in the small gap position, across the edging strip
and apply pressure. Start at one
end and slide or walk the hand unit along the edge keeping an even, flat
pressure.
-
If
a self-edging strip is to be added after the plastic top is on, then a piece of
masking tape must be put along the top edge to insure ease of removing any
excess glue that may boil out and over the finished top.
-
Edge
is ready to be finished.
-
Maximum
cure will result in about 24 hours.
NOTE:
We feel the best method of applying edging is to place a piece of quarter
ply or Plexiglas on top, then use the roller electrode feet as described.
|

|